

An everyday guide to getting the paperwork right—before you spend another day on a bus.
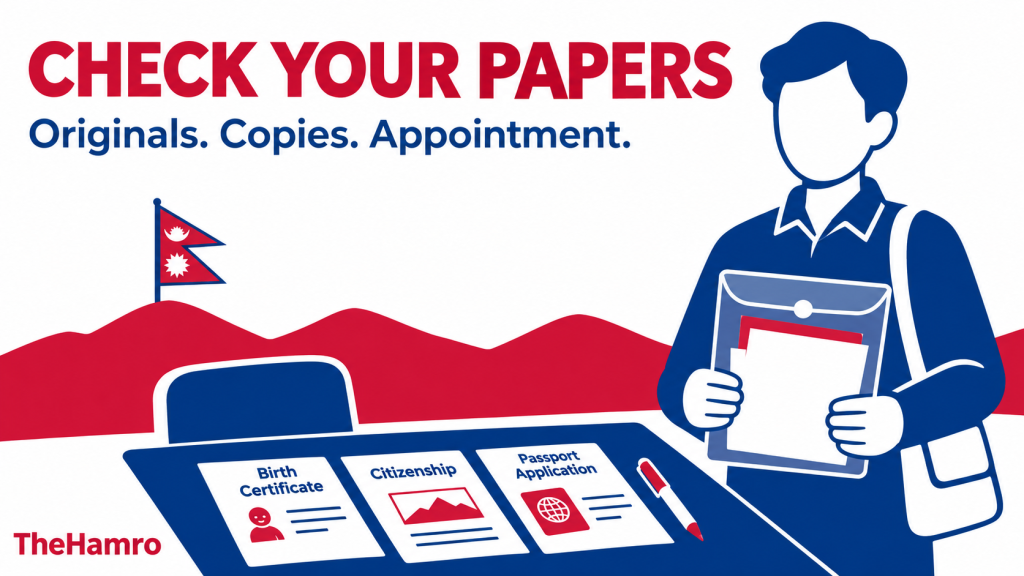
You take a day off. Put your documents in a clear plastic file. Reach the office feeling unusually organised.
Then comes the sentence every Nepali file-holder fears: “एउटा कागज पुगेन।”
Back home. Another photocopy. Another trip.
Whether you are getting your first nagarikta, preparing a passport for work or study, or finally making that scooter commute legal, knowing the order of things helps. Here is a practical guide to the offices, documents, fees and steps.
Checked on 4 November 2026. This guide covers ordinary first-time applications within Nepal. Citizenship circumstances and provincial transport rules differ; check your office’s latest notice before travelling.
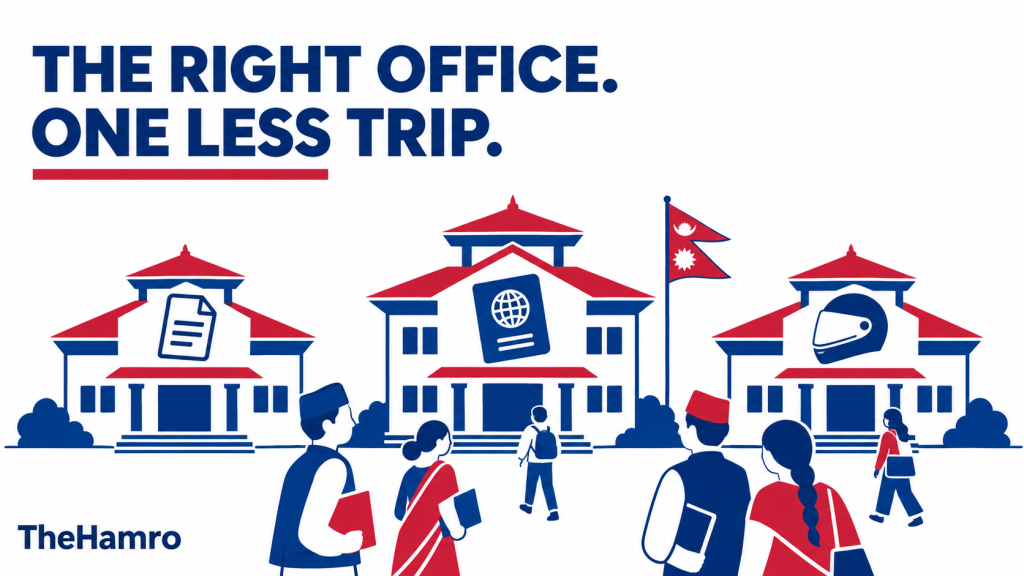
First, know where you are going
| Document | Where to start | Office that processes or issues it |
|---|---|---|
| Citizenship by descent | Your permanent-address ward office | Relevant District Administration Office (DAO) or authorised Area Administration Office (AAO) |
| Regular passport | Department of Passports’ online application | Relevant DAO/AAO passport section |
| Urgent passport | Online application for Department of Passports | Department of Passports, Tripureshwor, Kathmandu |
| Driving licence | Official transport application portal for your province | Selected Transport Management Office or authorised service office |
For a typical adult applicant, citizenship comes first. Passport applicants within Nepal also need their National Identity Number. Licence applicants should check whether their provincial portal requires National ID too: Madhesh’s current portal explicitly does.
1. Citizenship: start at the ward, not the photocopy shop
For the usual citizenship-by-descent application, you must have completed 16 years of age. Your ward prepares the recommendation; the administration office handles the citizenship certificate.
This section describes a straightforward application. Cases involving an unidentified parent, foreign parent, citizenship by birth, naturalisation or other special circumstances need their own checklist. A missing father’s document does not, by itself, settle somebody’s eligibility.
Step 1: Check your names and dates
Compare your birth registration, school certificates and parents’ citizenship documents.
Is your surname spelled consistently? Does the date of birth match? Is the permanent address correct?
Do this before the application, especially if your school records use one spelling and the family documents use another. Explain discrepancies to the ward rather than quietly copying different details into different forms.
Step 2: Get the ward recommendation
Ask your permanent-address ward office for the citizenship recommendation on Schedule 1, or अनुसूची–१.
Prepare:
- Birth registration certificate.
- Educational certificate showing your birth date, where applicable.
- Parents’ or qualifying family member’s citizenship documents, as required for your case.
- Recent photographs in the office’s specified size and quantity.
- Marriage registration, migration registration or relationship documents when relevant.
Photo requirements differ between published office checklists. Ask before ordering a dozen photographs that turn out to be the wrong size.
Step 3: Arrange the person who will identify you
The office may require a parent or qualifying relative to attend for सनाखत – confirming your identity and family relationship.
A photocopy of someone’s citizenship and that person’s presence are two different requirements. Confirm who must accompany you before booking the bus.
Step 4: Visit the DAO or authorised AAO
Take the recommended form, originals, photocopies and the required identifying relative. Officials verify the records and complete the application.
Some offices state that a complete, verified application can be processed the same day. Additional record checks or local verification can take longer.
How much does citizenship cost?
An official DAO FAQ lists a Rs 10 postage stamp for a new application, with no separate citizenship certificate service charge. The ward may charge its locally prescribed recommendation fee. Photos, photocopies and travel cost extra.
If someone quotes several thousand rupees, ask what each charge covers and request receipts. Nagarikta should not arrive with a mysterious “premium package.”
2. Passport: choose the service before choosing the bus
Not every passport applicant needs to travel to Kathmandu.
The Department of Passports directs regular applicants to the DAO/AAO that issued their citizenship or minor identity document. If you have formally migrated or need another office to handle your application, confirm its record-verification requirements first.
Urgent service is available at the Department of Passports in Tripureshwor, Kathmandu.
What are the passport fees?
For an ordinary 34-page passport:
| Application | Office | Published fee |
|---|---|---|
| Regular adult new issue/renewal | DAO/AAO | Rs 5,000 |
| Regular new issue/renewal for a child under 10 | DAO/AAO | Rs 2,500 |
| Urgent adult new issue/renewal | Department of Passports | Rs 12,000 |
| Urgent new issue/renewal for a child under 10 | Department of Passports | Rs 9,500 |
The department also lists Rs 20,000 for an adult 66-page urgent passport. Lost or damaged passports have different charges; do not budget them as ordinary renewals.
The Rs 12,000 adult urgent fee is the published total—not Rs 12,000 plus the regular Rs 5,000.
Step 1: Have your National Identity Number ready
Adult applicants applying within Nepal need their National Identity Number, or NIN.
The department accepts the National ID card or its number. The physical card and the number are not the same thing, so do not assume you must wait for the plastic card before checking whether you can proceed.
If you have not enrolled, ask the relevant National ID registration station about its documents and appointment arrangements.
Step 2: Fill the official online application
Start at nepalpassport.gov.np and follow its application link.
Choose the correct application type, booklet size, office and available appointment. Upload clear scans according to the portal’s requirements.
Use a mobile number you control. Save the downloaded application PDF and appointment information.
A cyber shop can help fill the form. It cannot take responsibility for a wrong birth date that you approved without reading.
Step 3: Prepare your documents
The department’s checklist includes:
- Application confirmation with barcode/QR code.
- Original citizenship certificate.
- National ID card or National Identity Number.
- Previous passport, if you already have one.
- Revenue payment receipt, following the office’s payment instructions.
Keep photocopies ready too. For children under 16, a minor identity document and additional parent/guardian documents are required; departmental applications also require district verification of the minor identity document.
Step 4: Attend personally
At the appointment, complete document checks and biometric enrolment.
Read your details before signing the approval. Pay particular attention to your name, date of birth and other identity information. Raise mistakes before the application is approved.
“हिज्जे मात्र त हो” becomes much less funny when it costs another application.
Step 5: Collect and check the passport
The department’s published guidance gives an indicative 10–30 days for regular service and two working days after enrolment for urgent service. Appointment waiting time comes before that, and disruptions can change delivery.
Follow the office’s collection notice. Check the printed details when you receive the passport.
If an interview or flight is approaching, ask about the current turnaround before paying for urgent service.
3. Driving licence: the form is only the beginning
A submitted form does not mean you have a licence. The usual process includes verification, health/eyesight checks, a written examination, a practical trial and payment after passing.
For common categories, the official application instructions list:
| Category | Vehicle | Minimum completed age |
|---|---|---|
| A | Motorcycle | 16 |
| K | Scooter | 16 |
| B | Car, jeep and delivery van | 18 |
Other vehicle categories have additional requirements.
Step 1: Find the correct official portal
Start with the Department of Transport Management and follow its provincial driving-licence links.
Provincial systems are changing. An old bookmarked application page may not be the correct starting point for your office.
Select the right office and category. A scooter-only category is not a motorcycle licence.
Step 2: Register and book the office visit
Enter your own mobile number and details matching your identity documents. Upload the required scans, select an available appointment and save the confirmation.
Check the selected office carefully. An appointment in a different district is not very useful when you have already reached the local gate.
Step 3: Complete verification and health checks
Carry your application confirmation, original citizenship and copies, plus National ID details if the provincial system requires them.
Complete the office’s biometric and medical/eyesight procedures and pay the prescribed application charge.
Step 4: Take the written examination
Prepare traffic signs, road rules, safe driving and basic vehicle knowledge using official materials and the office’s current examination instructions.
Being able to ride to the market does not automatically prepare you for every traffic-sign question.
Step 5: Take the practical trial
Follow your office’s trial date, venue and category-specific rules. Confirm the vehicle arrangement and any separately charged trial-centre service beforehand.
If you fail, ask for the applicable retrial window, fee and booking process. These details should come from the office’s current notice.
Step 6: Pay the issuance fee after passing
Follow the office’s instructions for the post-pass revenue payment. Keep the receipt and ask how to obtain and verify the officially recognised licence evidence while awaiting the card.
Do not assume an application printout or an unexplained payment receipt alone authorises you to drive.
How much does a licence cost?
There is no single reliable Nepal-wide total. Provincial schedules set different charges.
These examples show the application and licence issuance fees separately:
| Province and source year | Application | A/K issuance | B issuance |
|---|---|---|---|
| Koshi, Economic Act 2083 | Rs 1,000 | Rs 3,000 | Rs 4,000 |
| Lumbini, Economic Act 2083 | Rs 500 | Rs 3,000 | Rs 4,000 |
| Bagmati, Economic Act 2082* | Rs 500 | Rs 1,500 | Rs 2,000 |
Bagmati figures are from the cited 2082 schedule; confirm the current fiscal-year rate before payment.
These are not complete package prices. Examination charges, medical checks, trial-vehicle services, retrials and training may add to the bill. Koshi’s cited schedule, for example, separately lists Rs 500 for the written/practical examination.
Ask the counter: “आवेदन, परीक्षा र पास भएपछि तिर्ने दस्तुर छुट्टाछुट्टै कति हो?”
That question is more useful than “लाइसेन्सको जम्मा कति?”
Before leaving home, do this five-minute check
Keep one folder containing the documents for your particular application—not every document your family has ever owned.
- Check the office’s latest notice, working day and appointment.
- Pack originals and the required photocopies.
- Save the application PDF offline on your phone.
- Confirm whether a parent or relative must attend.
- Carry payment options accepted by the office.
- Separate government fees from printing, training and other private charges.
- Keep every official receipt.
If you are travelling from a hill village to the district headquarters, a phone call can save more than inconvenience. It can save bus fare, meals and a day’s wages.
Ask something specific: “मेरो यो कामका लागि कुन कागजात, कसको उपस्थिति र कुन दिन चाहिन्छ?”
You should not need a “source” to understand the process
Get help with a form if you need it. But understand what you are applying for, check every detail yourself and pay government charges through official channels.
Nobody can legitimately sell you a guaranteed trial pass or an unofficial passport shortcut.
Your first citizenship, passport or licence should feel like a step forward. A little preparation helps keep it that way.
Clear file, correct papers, proper receipts. अनि मात्र चिया ब्रेक।
Official references
- Citizenship fees and office guidance — DAO Ramechhap
- Citizenship preparation — DAO Sindhuli
- Citizenship document checklist — DAO Kapilvastu
- Passport documents and application — Department of Passports
- Passport service locations and indicative delivery
- Departmental passport fees
- Regular passport fees — DAO Kathmandu
- Driving licence provincial system links — DoTM
- Driving licence age and application instructions
- Madhesh licence portal and National ID requirement